Unseen Beauty of American Craftsman Homes: Guide to Details & Restoration
 Aug, 23 2025
The most loved porches in America were built long before Instagram-and they hide gorgeous craft you only notice when you slow down. This piece shows you how to see what most people miss in American Craftsman houses: the joinery, the proportions, the way light lands on quartersawn oak. You’ll get a clear lens to spot authentic features, a simple plan to restore them without burning money, and realistic tricks to live comfortably without erasing the soul.
- TL;DR / Key takeaways
- Look for low, sheltering roofs, deep eaves, grouped windows, tapered columns on stout piers, and honest materials (wood, stone, brick). Those are the tells.
- Restore in order of weather: roof, water management, windows/doors, wood trim, then interiors. Budget follows protection first.
- Keep original wood windows; repair beats replacement for cost and carbon. Weatherstrip + storms = comfort.
- Use restrained palettes (earth + muted accent), warm metals, and real wood. Simple lines, visible joinery, low sheen finishes.
- Modernize gently: hidden insulation, ductless or high-velocity HVAC, LED in classic fixtures, outlets tucked into baseboards.
What makes a Craftsman home sing (and how to spot the real thing)
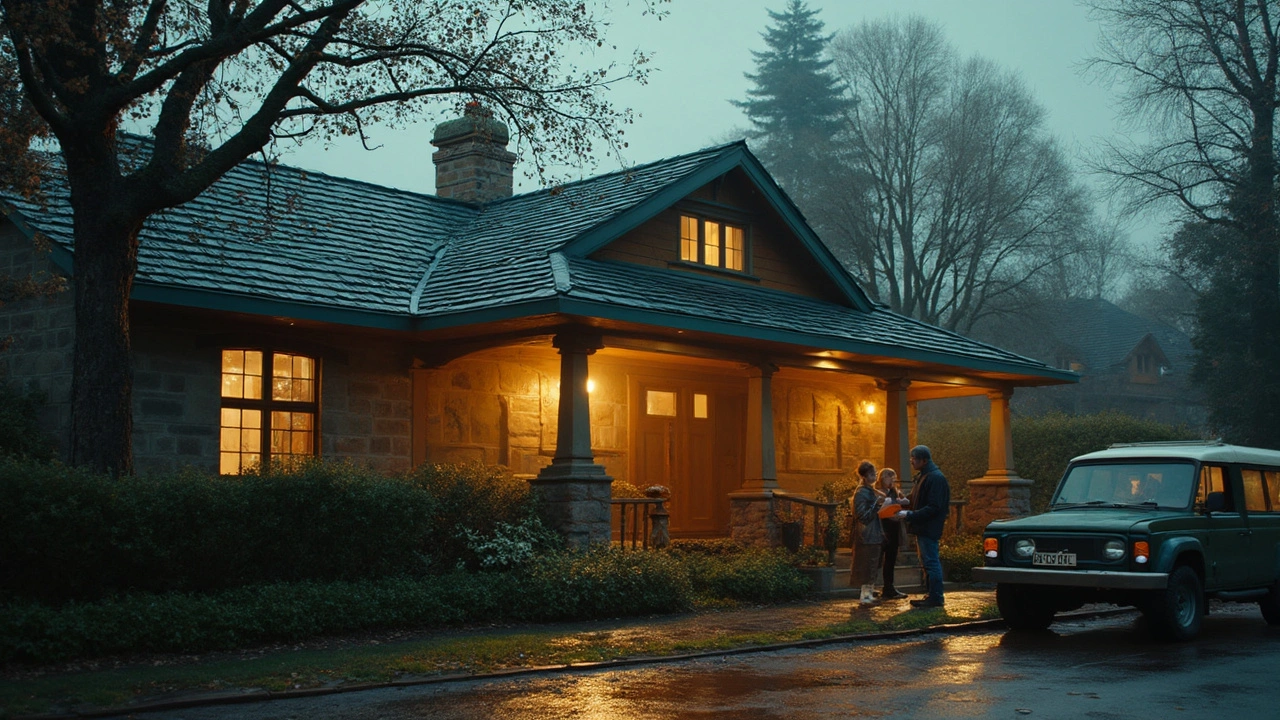
American Craftsman came out of the Arts & Crafts movement, a rebellion against flimsy factory trim and fussy decoration in the early 1900s. Think: human-scaled houses that feel grounded-wide porches, honest materials, built-ins made by real hands. The look is calm because the structure reads as the decoration.
Core elements you can trust:
- Roof: Low-pitched gable or hipped roofs, broad overhangs (often 18-30 inches), exposed rafter tails or decorative brackets. Dormers are common.
- Porch: A real outdoor room, not a ledge-full or partial width, with tapered square columns sitting on masonry piers (stone or brick). Railings are chunky, with simple square balusters.
- Windows: Usually grouped in pairs or triples. Upper sashes often have vertical or diamond muntins over a single lower pane (3-over-1, 4-over-1, or 6-over-1). Casements appear in some regions.
- Doors: Sturdy wood with a glazed upper third-often three or six small lights-plus a chunky trim and a simple shelf-like head casing.
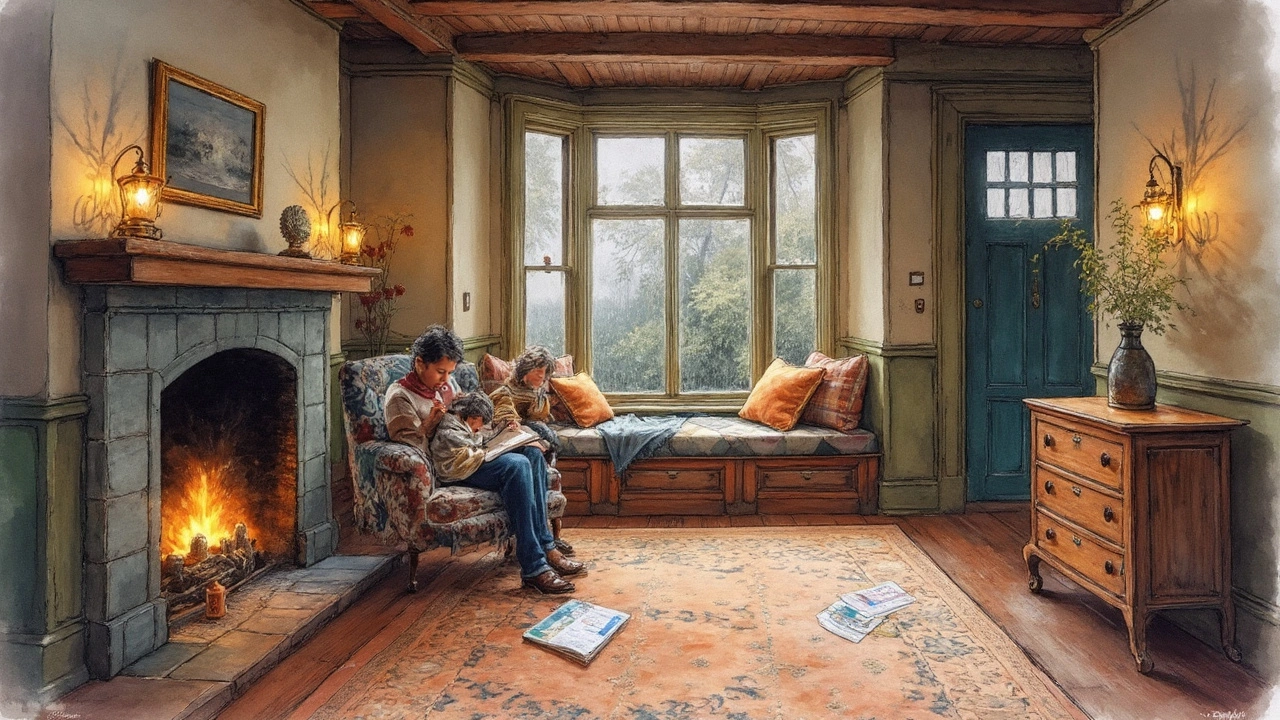
- Materials: Shingle, clapboard, brick, or rough stone. Inside: quartersawn oak or fir for trim, built-ins (bookcases, sideboards, window seats), and handmade tile.
Quick history snapshot: The style peaked from about 1905 to 1930, with high-art examples by Greene & Greene in California, workmanlike bungalows from Sears kit catalogs in the Midwest, and brick Chicago bungalows on narrow city lots. After WWII, tastes shifted, but the bones of these houses proved hard to beat-solid, humble, and adaptable.
How to read a Craftsman facade in 5 steps (standing on the sidewalk):
- Start at the roofline: note pitch, overhang depth, and whether rafter tails are cut square or shaped. Brackets should look structural, not flimsy appliqués.
- Scan the porch: are the columns truly tapered and sitting on substantial masonry piers? Hollow faux-stone wraps or skinny posts often signal later replacements.
- Read the windows: do you see grouped sashes with a pattern on top and a clear lower pane? Single, wide picture windows are usually later changes.
- Trace the trim: window and door casings should be wider than modern builder-grade, often with a slight reveal and a simple head cap, not crown molding.
- Finish with the feel: Craftsman should feel grounded to the site-low, broad, tucked into landscaping-not tall and spindly.
Real vs. “Craftsman-inspired”: True examples keep structure-driven details. A new build with stick-on brackets and vinyl columns can look the part from 30 feet, but close-up you’ll see skinny proportions, hollow details, and busy, high-gloss finishes. The quiet test: if the porch makes you want to sit down and the door feels hefty in your hand, you’re close.
Credible sources if you want to nerd out: the National Park Service’s Preservation Briefs on wood windows and paint, the Secretary of the Interior’s Standards for Rehabilitation, and early issues of The Craftsman magazine (Gustav Stickley). They’ll keep you honest on what’s appropriate.
Bringing back the glow: restoration priorities, costs, and materials
Here’s the blunt truth I share with clients: water is the only villain with a budget bigger than yours. Fix how a house sheds water, and you protect 80% of its character for a fraction of the cost of gut renovations. Work from outside in, top to bottom.
Order of operations (simple and protective):
- Roof and flashing: Patch and tune if the deck is sound; replace in-kind when at end-of-life. Watch valleys and chimney flashings.
- Gutters and downspouts: Size them right, add leaf guards if you’re ringed with trees, and push water 5-10 feet away from the foundation. Splash blocks help but extensions are better.
- Windows and doors: Repair first. Add weatherstripping and storms. Tune locks and adjust sashes so they glide with fingertips.
- Exterior wood: Sand responsibly, spot-prime bare spots, and repaint with breathable coatings. Replace only what’s too far gone; match profiles.
- Interiors and systems: Hidden insulation, gentle HVAC, wiring, and then finishes like floors, built-ins, and tile.
Repair vs. replace, with numbers that matter: The National Park Service has long documented that original wood windows, maintained and weatherstripped, can meet modern comfort needs and often cost less over their lifespan than wholesale replacement. Add a well-made storm (wood or low-profile aluminum) and you improve performance dramatically without losing the look. When you replace, you pay in cash, character, and carbon.
Rules of thumb I use on projects:
- Budget 5-10% of the home’s value for urgent exterior work if deferred maintenance is obvious.
- Set aside 1-2% per year for ongoing care (paint touch-ups, storm door tune, gutter cleaning).
- Paint lasts 7-10 years on well-prepped wood with good overhangs; cut that in half on sun-baked elevations.
- New porch decking? Consider vertical-grain fir with a penetrating oil; it moves with weather and can be renewed without stripping.
Where money actually goes in 2025 (typical ranges vary by region and complexity):
| Component | Original Material | Typical Issue | Fix Options | 2025 Cost Range (USD) | Service Life After Repair | Priority (1-5) |
|---|---|---|---|---|---|---|
| Roof (gable w/ dormers) | Cedar/Asphalt | End-of-life shingles, flashing leaks | Re-shingle; replace flashing; ventilate | $12,000-$28,000 | 18-30 years (asphalt); 25-35 (cedar) | 5 |
| Gutters & Downspouts | K-style or half-round metal | Clogs, undersized runs, poor discharge | Upsize, add leaf guards, extend leaders | $1,800-$5,500 | 15-25 years | 5 |
| Wood Windows (set of 10) | Old-growth pine/fir/oak | Stuck sashes, drafts, failing glazing | Repair, weatherstrip, add storms | $4,000-$12,000 | 50+ years with upkeep | 4 |
| Exterior Paint (2-story) | Wood siding & trim | Peeling, open joints | Scrape/sand, prime, elastomeric caulk, repaint | $7,500-$18,000 | 7-10 years | 4 |
| Porch Structure | Wood framing, stone/brick piers | Rot at ends, settled piers | Sister joists, re-point/rebuild piers, new decking | $6,000-$22,000 | 20-40 years | 5 |
| Built-ins & Trim | Quartersawn oak/fir | Wear, paint over stain | Refinish or clean-and-wax; replace missing parts | $2,000-$10,000 | Decades | 2 |
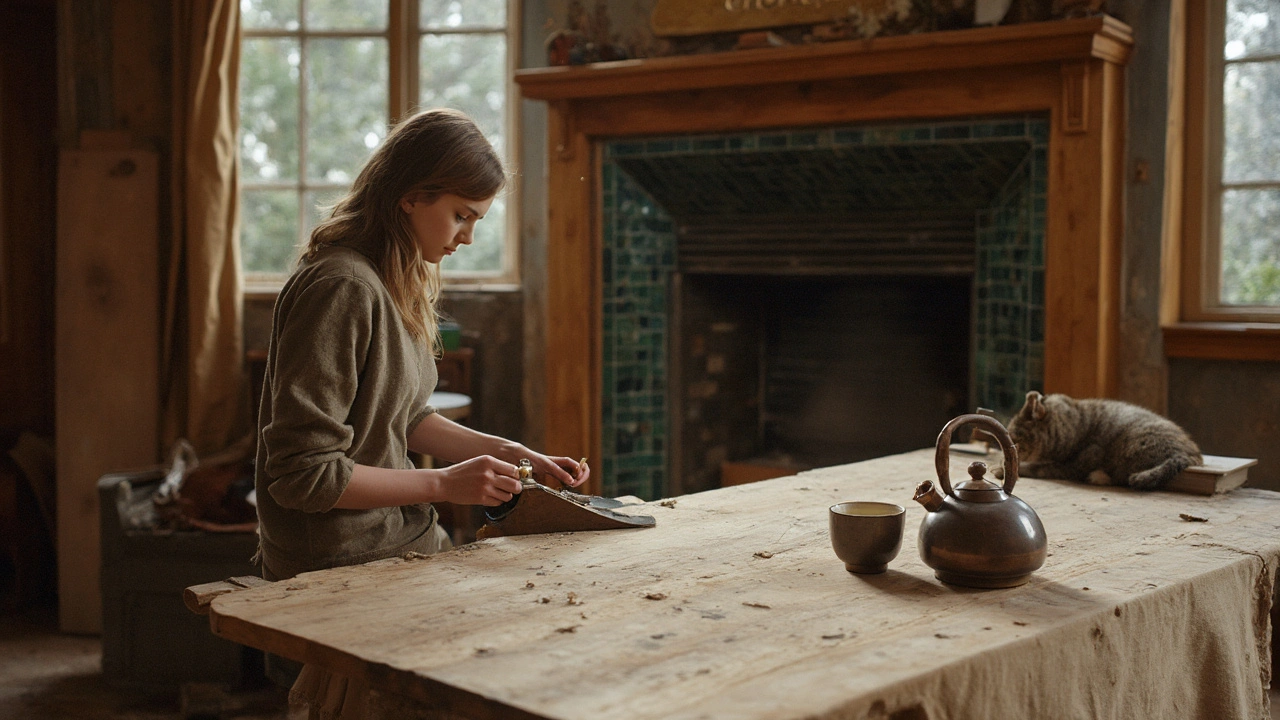
| Tile Fireplace Surround | Glazed earthenware | Cracked tiles, loose grout | Salvage match; reset; re-grout | $1,500-$5,000 | 50+ years | 3 |
Pro tips that save time and tears:
- Don’t sand oak trim down to bare wood unless you must; you’ll lose that ribbon-like fleck that makes it sparkle. Try clean-restoration: wood cleaner, mineral spirits, light scuff, fresh shellac or wax.
- Match profiles before you cut. Use a profile gauge or make a paper tracing of original casings and baseboards so millwork can be replicated precisely.
- When in doubt, stop. Take photos, label each piece you remove, and keep fasteners in taped bags. Future-you will thank present-you.
Credibility check: The repair-first approach aligns with the Secretary of the Interior’s Standards (repair rather than replace where possible) and National Park Service Preservation Briefs on wood, paint, and masonry. These are the gold standard for sensitive work.
Live with it: layout, light, color, and decor that respect the bones
Craftsman interiors were designed for comfort and eye-level richness. The trick is to keep the calm while adding modern life-devices, storage, and light-without cramming in shiny new everything.
Lighting that flatters wood:
- Layered, not bright-white. Warm LEDs (2700-3000K), dimmers, and picture lights to graze the grain on trim and built-ins.
- Mica or art-glass shades nod to the period without feeling like a stage set. Rewired vintage fixtures hold tons of charm.
Color that lets materials speak:
- Exterior: muted greens, olives, ochres, umbers, smoky blues, and warm off-whites for trim. If in doubt, pull a color from the surrounding landscape.
- Interior: creamy off-whites, tobacco, moss, clay, and quiet navy accents. Use high-quality matte on walls and satin on trim to soften reflections.
- Use the 60-30-10 rule: 60% wall color, 30% wood tone/fabric, 10% accent tile/metal.
Furniture and decor that feel right without cosplay:
- Low, deep seating with simple lines. Leather, wool, and cotton wear beautifully.
- Stickley-inspired pieces play well, but one or two are enough. Mix with modern clean-lined sofas and a solid wood coffee table.
- Handmade tile on hearths, simple runners, woven baskets, and pottery pull the eye toward texture.
Modern comfort upgrades you won’t regret:
- Insulation: Dense-pack cellulose in walls and attic kneewalls where accessible; leave vapor flow so wood can dry. Add insulated shades for windows on cold nights.
- HVAC: Ductless mini-splits or high-velocity small-duct systems keep trim intact. Place heads where trim breaks naturally.
- Power & tech: Add outlets in baseboards or inside built-ins; hide routers in vented cabinets; run conduit in closets instead of chasing walls.
- Baths and kitchens: Keep the simple rhythm-flat-panel doors, chunky pulls, and a few feet of handmade tile. Stone or butcher block reads well; avoid glossy, hyper-modern cabinets unless the contrast is intentional and restrained.
One small restraint changes everything: low sheen. Satin or matte finishes make wood and tile read as soft and touchable instead of shiny and slick.
Regional twists and real-world examples
Not all Craftsman houses look the same; they learned from local climate and materials. Spotting those twists helps you avoid one-size-fits-all choices.
- California Craftsman: Low, spreading roofs, chunky beams, dark-stained shingles, and Japanese-influenced joinery. Greene & Greene’s work (like the Gamble House) set the tone. In hot sun, deep eaves really matter-don’t cut them back.
- Pacific Northwest: Shingle cladding, river stone, and big porches aimed at the rain. Use durable species and breathable finishes; clear moss early.
- Chicago Bungalow: Brick, raised basements, front bays, and compact lots. Interior wood is often stained dark; leaded glass pops in stair landings.
- Midwest/Sears Kit Bungalows: Clapboard or shingle, practical layouts, pattern-book details. You can still match missing parts because catalogs illustrated profiles and dimensions.
- Southern Craftsman: Tall crawlspaces, generous shade porches, and screened rooms. Moisture management and ventilation are first priorities.
A couple of street‑level case notes from recent work:
- 1916 bungalow, Midwest: Client wanted larger kitchen and insulation. We removed a 1980s arch, kept original plate rail, and borrowed 18 inches from a closet to widen prep space. Dense-packed walls, weatherstripped windows, added a wood storm to the sink window. Result: lower bills, same soul.
- 1924 brick bungalow, Chicago: Picture window installed in the 60s broke the facade rhythm. We reintroduced three double-hungs with a 3-over-1 pattern to match side windows and created a small built-in seat under the center unit. Curb appeal jumped without a full exterior redo.
Market note: Real estate agents still use “Craftsman” as a magnet word because buyers feel the warmth instantly. The AIA’s recent home trends surveys show steady interest in front porches and built-ins-amenities this style already has in spades.
Your field guide: checklists, cheats, and FAQs
Quick checklists you can carry into the field or hand to a contractor.
Buyer’s 10-minute curbside checklist:
- Roofline low and sheltering? Eaves at least ~18 inches?
- Columns truly tapered and sitting on solid masonry piers?
- Grouped windows with patterned uppers (3-over-1 or similar)?
- Exposed rafter tails or honest brackets (not thin appliqués)?
- Original wood door with small lights and sturdy hardware?
- Porch floor slopes slightly away from house (water sheds)?
- Masonry piers intact, no step cracking or open joints?
- Trim wide and consistent, no skinny modern filler pieces?
- Visible built-ins through front window or side lights?
- House feels grounded to landscaping, not perched awkwardly?
Restoration priority cheat-sheet (first year):
- Stop leaks: roof, flashing, gutters, downspouts, grading.
- Secure windows/doors: weatherstrip, adjust, add storms.
- Stabilize wood: scrape, spot-prime, repaint key elevations.
- Safety: knob-and-tube evaluation, GFCI near sinks, CO detectors.
- Comfort: attic air-sealing and insulation; LED retrofits.
Color and finish cheat-sheet:
- Exterior trio: field color (earth), trim (warm off-white), accent (muted deep tone). Test swatches in sun and shade.
- Interior wood: clean, shellac or oil-wax finishes; save stain depth.
- Tile: matte/gloss mix, handmade if budget allows; keep patterns calm.
Window decision tree (simple and honest):
- Is the wood sound 80%+? Repair and weatherstrip; add storms.
- Are rails/rails rotten but profiles intact? Splice with matching wood.
- Is the sash gone or hacked? Find a salvage match or custom mill a replica.
- Only replace entire units if frames are failing and repair is impractical; match sightlines and muntin patterns.
Mini-FAQ
- When were most Craftsman houses built? Roughly 1905-1930, with regional peaks. You’ll find later revivals, but the classic details trace to that early 20th‑century window.
- Can I open up the floor plan? Yes, selectively. Keep headers visible and proportions stout. If you remove a wall, consider a wide cased opening with built-in shelves on each side.
- Are original windows energy hogs? Not when tuned. Weatherstripping + a good storm window competes well with many replacements, and you keep the slim wood profiles.
- What flooring belongs? Oak or fir, often 2-3 inch boards; rugs for softness. Avoid shiny orange polyurethane; go satin or matte.
- How do I pick hardware? Oil-rubbed bronze, aged brass, or blackened steel. Choose chunky, simple shapes over ornate scrolls.
- Can I add solar or heat pumps? Yes. Place panels on rear slopes; use ductless heads in low-visibility spots. Keep penetrations tidy and reversible.
Next steps / Troubleshooting by scenario
- New buyer with limited budget: Get a roof and water audit first. Spend on gutters, storms, and spot paint. Live in the house a season before big interior moves.
- Owner planning a kitchen: Measure all openings, photograph every trim detail, and design cabinets with flat panels and simple rails. Match the baseboard height and carry casing profiles into the kitchen for continuity.
- DIY restorer: Start with a single window. Learn to pull sash pins, re-putty glazing, and tune ropes or spring balances. Master one, then repeat.
- Contractor unfamiliar with historic work: Share the Secretary of the Interior’s Standards and relevant NPS Preservation Briefs. Agree on mock-ups for trim and finish before full production.
- Short-on-time seller: Replace missing light fixtures with simple period-appropriate forms, refinish the front door, and clean-and-wax built-ins. These read instantly in photos.
A final lens to carry with you: good Craftsman design is quiet confidence. If a choice makes the house feel lower, calmer, more tactile, and more rooted to its site, you’re likely on the right track. Look for the shadow under the eave, the honest taper of a porch post, the glint in oak fleck, the thumb-worn edge on a stair rail. That’s the unseen beauty revealing itself.
If you’re searching online, use variations like bungalow, Arts & Crafts, and kit house alongside your city. Walk the block at golden hour and notice which porches glow. That’s where the good bones live.
Oh-and because search bots care as much as people do, here’s your one clear flag: craftsman style homes. The rest of this guide is for your eyes, your hands, and your porch at the end of a long day.