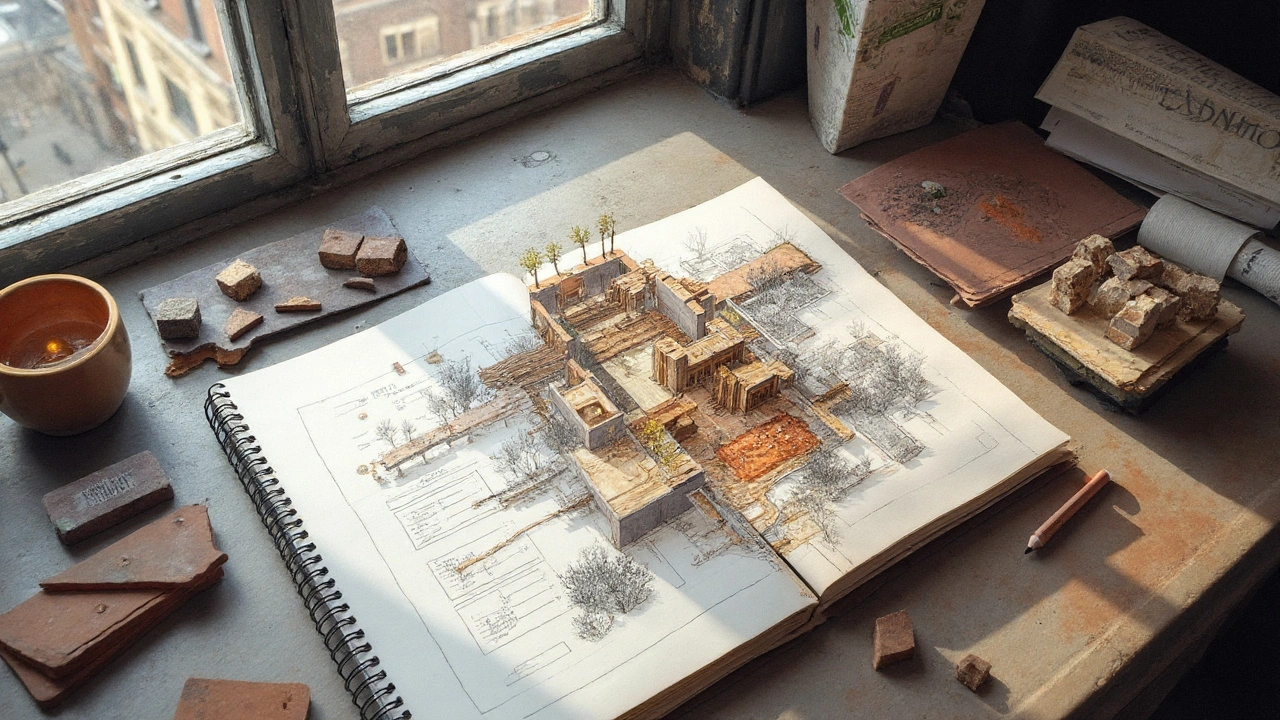
Pushing the Envelope with Deconstructivism: Design, Structure, and Cost
 Sep, 15 2025
Deconstructivism looks wild on paper. The hard part is getting those jagged, leaning, twisting forms to stand up, meet code, and not torch your budget. If you clicked because you want to push the envelope without breaking it, you’re in the right place. I’ll show you what to keep, what to rethink, and how to turn risky geometry into reliable architecture. Expect trade-offs, simple rules that work under pressure, and lessons pulled from the ground-not just the gallery. I’m writing from windy, seismic Wellington, so yes, we’ll talk about real forces, not just vibes.
TL;DR
- Start with a clear structural idea; let form follow forces, not the other way round.
- Use a tight digital chain (Rhino/Grasshopper + BIM + fabrication) and lock a single source of geometric truth.
- Panelize early, set tolerances upfront, and buy time with mock-ups and offsite fabrication.
- Budget with a complexity factor; model time, tolerance, and logistics-not just materials.
- In seismic and high-wind regions, decouple the sculpture from the skeleton with dampers, isolators, and movement joints.
What Deconstructivism Demands Today
The term landed in the mainstream with MoMA’s 1988 “Deconstructivist Architecture” show curated by Philip Johnson and Mark Wigley. Think Tschumi’s Parc de la Villette, Libeskind’s sharp cuts, Gehry’s twisted skins, and early Zaha Hadid drawings that looked impossible-until they weren’t. Today’s difference? Digital tools and better fabrication make complexity buildable, but public scrutiny on cost, carbon, and safety is sharper. The bar is higher.
What’s the real promise? Deconstructivism shatters symmetry to reveal tension, conflict, and movement. Done well, it’s not random-it’s precise asymmetry. It’s disassembly as a way to see structure, culture, and context more clearly, not less. The win is when people feel the building’s energy without losing their bearings inside it.
What the reader likely wants to get done after clicking this title:
- Pin down what deconstructivism actually means in practice (not just theory).
- Learn a reliable process to go from sketch to code-compliant, buildable geometry.
- Pick structures, skins, and joints that can handle angles, cuts, and non-linear form.
- Budget smartly with risk built in, not bolted on late.
- Find case studies, checklists, and a quick FAQ to unblock decisions.
Let’s ground the idea. A working definition: Deconstructivism uses deliberate fragmentation, misalignment, and non-orthogonal geometry to question typology and narrative, while relying on precise systems to keep people safe and oriented. In short: it’s bold shape with quiet control. If you only keep one line from this piece, make it this: expressive freedom needs an equally expressive plan for structure, tolerances, and movement.
Credibility checkpoints you can trust:
- MoMA’s 1988 “Deconstructivist Architecture” set the canon of projects and designers.
- Structural safety is governed by national codes (for example, NZS 1170.5 for earthquakes in New Zealand; IBC 2024 in the US; Eurocodes in Europe).
- Embodied carbon ranges come from the ICE Database (University of Bath, v3.0) and 2025 EC3 median EPDs used by facade and structure teams.
One more thing: geometry alone isn’t the envelope. The real envelope is the whole system-structure, facade, services, fire, movement, operations, climate. When you push form, all those move too. Coordinate early or pay for it late.

From Sketch to Site: Methods, Tools, and Structure That Work
Here’s a lean process that keeps control without killing the spark.
Step 1: Lock a structural story before you escalate form
- Pick one: exoskeleton (diagrid/braces), sculpted core + outriggers, or hybrid (hidden frame with expressive ribs).
- Use the “load path sketch test”: draw gravity and lateral paths in three strokes. If it takes twelve, simplify.
- In seismic/windy zones (hello, Wellington), assume movement. Plan for serviceability drift as carefully as ultimate strength. Ask your engineer for preliminary inter-story drift and acceleration limits now, not after renders.
Step 2: Write your geometric rules
- Set minimum radius for double curvature, max panel size, and joint types before massing locks.
- Panelization rule of thumb: keep 70-85% of panels standard, 10-20% adjusted, 0-10% special. If “special” goes above 15%, reset the geometry.
- Never finalize form without a mock-up strategy. A full-scale corner mock-up saves months.
Step 3: Decide your digital chain of custody
- Concept: Rhino + Grasshopper (clean NURBS) or Blender (if you’re explicit modeling).
- Coordination: Revit/ArchiCAD (BIM) with live interchange via IFC 4.3; keep one master geometry file as the “single source of truth.”
- Analysis/fab: Karamba/SAP2000 for structure, Ladybug for climate, Tekla or advanced surface tools for steel/facade. Use Speckle or similar to sync models and track changes.
- Rule: every exported file gets a “tolerance tag” (e.g., facade ±5 mm, steel ±3 mm). No tag, no issue close-out.
Step 4: Choose a skin that likes being bent
- Metal shingles (titanium, stainless, aluminum) for faceted or softly curved skins. Easy to replace; good in harsh climates.
- Cold-bent glass for gentle curves; laminated hot-formed glass for tighter radii. Secure fire strategy early (EN 13501-1 / ASTM E119 pathways).
- FRP/GFRP or GFRC for deep folds with low weight; needs careful fire and smoke profiles.
- Timber shells for warm, tactile geometry; great with CNC ribs and CLT diaphragms; check moisture movement at joints.
Step 5: Engineer movement like it’s a design feature
- Seismic: decouple expressive elements from the main frame using sliding connections, buckling-restrained braces, or base isolation where appropriate (base isolation is routine in NZ for key buildings).
- Thermal: long folds grow and shrink; add expansion breaks at changes in plane. Hide joints in creases where the eye expects shadow.
- Wind: sharp angles amplify suction. Use wind tunnel or CFD early. Design negative pressure clips, not just positive fixings.
Step 6: Budget with a complexity factor
Don’t guess. Model it. Use this quick planner your QS can adopt on day one:
- Base cost/m² × [1 + form factor + tolerance factor + coordination factor + logistics factor]
Where:
- Form factor: 0.05-0.20 (single vs. double curvature, % special panels)
- Tolerance factor: 0.02-0.10 (tight radii, hidden fixings, exposed structure)
- Coordination factor: 0.03-0.12 (number of trades hitting complex nodes)
- Logistics factor: 0.02-0.08 (cranage, offsite, night installs, constrained sites)
Work an example with your own rates. The point isn’t the exact number-it’s getting the drivers visible so you can steer them.
Step 7: Commission risk out, not in
- Early contractor involvement (ECI) with a facade and steel fabricator who has built curves and angles before. Ask for shop photos, not just renders.
- Performance mock-ups under wind, water, and structural load. Test a corner with the worst geometry, not the easiest bay.
- Sequencing workshop: model the crane path, lifting points, and temporary bracing. Deconstructivist forms need temporary structure as much as final structure.
Structure picks that pair well with jagged forms
- Diagrid or exoskeleton steel to express load paths while freeing internal spans. Powerful with glass or perforated metal infill.
- Hybrid steel-concrete cores with outriggers to control drift while the perimeter gets expressive.
- Space frames for lobbies and galleries where the roof wants to fold; works nicely with skylight ribbons.
- Timber shells with steel knots where angles get tight; warm, lower carbon, and fast offsite.
Services and fire: don’t let them kill the drama
- Route ducts through designed “creases” and use displacement ventilation in odd geometries to avoid ugly drops.
- Treat fire strategy as choreography. Use protected shafts in the calmest zone of the plan and keep egress routes legible, even if walls tilt.
- Use illuminated reveals at key joints; light hides joints better than paint.
One honest note: pure freedom is expensive to maintain. Aim for “perceived randomness, engineered repetition.” Repeat sub-frames behind unique faces. Your facilities team will thank you in ten years.

Case Studies, Checklists, and Your Likely Questions
Small-to-large patterns that work
- Galleria/atrium folds: space frame roof with triangular glazing; visible joints double as wayfinding.
- Gallery/museum shards: sculpted concrete core + steel ribs; facade panels vary in size but clip to a repeating rail.
- Campus pavilion: timber shell with CNC ribs; simple foundations, complex roof; speed from offsite prefabrication.
- Urban corner icon: exoskeleton diagrid wraps a rectilinear floor plate; drama outside, efficiency inside.
Reference projects worth studying (for methods, not mimicry): Gehry’s Guggenheim Bilbao for metal shingle logic; ZHA’s MAXXI for structural flows; Libeskind’s Jewish Museum Berlin for narrative cuts and light; Coop Himmelb(l)au’s UFA Cinema for steel ribs and glass; Tschumi’s Parc de la Villette for program as layers.
Material and system trade-offs
| System | Cost premium vs. straight | Lead time (typ.) | Tolerance strategy | Embodied carbon (kgCO2e/m² of facade) | Notes |
|---|---|---|---|---|---|
| Metal shingles (Ti/SS/Al) | +5-15% | 8-16 weeks | Adjust shingle sizes; hide cuts in laps | 80-180 | Repairable; good in harsh climates |
| Unitized curtain wall, faceted | +8-20% | 16-30 weeks | Set module family; gasketed corners | 200-350 | Fast onsite; mock-up critical |
| Cold-bent glass | +10-25% | 20-32 weeks | Limit corner deflection; edge strength | 220-380 | Gentle curves only |
| GFRC/GFRP panels | +5-18% | 10-20 weeks | Back frames with adjustable brackets | 90-200 | Light; check fire classification |
| Timber shell + metal seam | +3-12% | 10-18 weeks | Moisture and movement joints | 60-150 | Low carbon; warm acoustics |
Ranges reflect typical 2023-2025 APAC/EU markets and depend on geometry, supplier, and spec. Embodied carbon ranges reference the ICE Database (University of Bath v3.0) and EC3 median EPDs; always verify with project-specific EPDs.
Orientation and wayfinding in complex plans
- Let structure guide users. Where the frame leans, place stairs or light. Your body reads structure faster than signage.
- Keep one axis straight through the chaos-an internal “spine” people can return to.
- Use material shifts (e.g., floor texture or ceiling baffle direction) to cue direction in long, tilted corridors.
Acoustics and comfort
- Facets scatter sound but can over-brighten; add soft banners or micro-perforations between folds.
- Daylight loves angled planes; glare doesn’t. Model sun patches and add reveals deep enough to shade exposed glass.
Fire and egress without dulling the form
- Plan egress paths that stay orthogonal and well-lit; let the drama live in non-egress zones.
- Choose materials with tested fire classifications (e.g., EN 13501-1 A2-s1,d0 for facade where required).
- Use compartmentation that follows your panel joints; you’ll get better air, smoke, and fire performance with less visual pain.
Quick checks before you lock DD
- Structure: three clear load paths, drift within code, temporary works plan in place.
- Envelope: panel family defined, worst-case corner mock-up scheduled, drainage paths drawn.
- MEP: routes coordinated through creases, plant fits in calm geometry.
- Budget: complexity factor applied, contingency loaded by system, lead times checked.
- Ops: replacement strategy for unique parts, access systems designed (BMU, anchors, or rails).
Mini-FAQ
- What is deconstructivism architecture in one line? Intentional fragmentation and misalignment built with precise systems so it’s safe, legible, and high-performing.
- Is it only for museums? No. It scales-from pavilions and schools to offices. The trick is to keep the plan efficient while the envelope explores.
- How do I avoid cost blowouts? Freeze geometry families early, prototype a corner, and track the complexity factor like a KPI.
- Will it pass code in seismic regions? Yes, if you decouple expressive parts, control drift, and design for movement per local codes (e.g., NZS 1170.5). Many iconic NZ buildings use base isolation; the concept isn’t exotic here.
- Is it sustainable? It can be. Use low-carbon structure, keep panel sizes replaceable, and cut waste with offsite fabrication and tight nesting.
Pro tips from the field
- Design the joint as a place, not a line. People will stand there, touch it, and take photos of it.
- Hide maintenance in plain sight. Turn a fold into a discrete door or access hatch.
- Use light to edit geometry at night; you control what exists after dark.
- When a corner wants to crack, make it a reveal. Your future self will call that “intentional.”
Next steps
- Create a one-page concept brief: structural idea, geometric rules, movement strategy, and the digital toolchain you’ll use.
- Build a 1:20 corner mock-up in the studio. Test alignment, drainage, and a real joint detail.
- Run a first-pass climate and drift analysis on your massing. If daylight and drift fight, redesign before DD.
- Call two fabricators and one installer. Ask about panel sizes, bending limits, and their favorite tolerance to build.
- Set up model governance: master geometry file owner, naming, and weekly clash checks.
Troubleshooting
- The form looks great but the budget’s red. Drop special panels to below 10%, switch to a repeating sub-frame, and negotiate material grade-keep the silhouette.
- Wind study came back hot. Round the leading edges by 50-75 mm, add negative pressure clips, and break large planes with shallow folds.
- Seismic drift is blowing facade joints. Introduce sliding connections at vertical rails and split the facade into smaller independent zones.
- Fabricator says your curve is “unfoldable.” Move from double- to single-curved panels in that zone and fake continuity with shadow reveals.
- Interior feels chaotic. Pull one straight axis through the plan and align lighting to it. Give people a calm “home base.”
Risk and standards you should actually read
- MoMA’s 1988 “Deconstructivist Architecture” catalog (for intent and precedent).
- Your local building code (IBC 2024, Eurocodes, or NZBC + NZS 1170.5 for earthquakes) for structure and fire.
- ICE Database v3.0 and the EC3 tool for embodied carbon ranges of your chosen systems.
- Facade performance testing standards (e.g., ASTM E1105 for water, AAMA/EN for air and structural) to set mock-up criteria with the team.
Deconstructivism stays fresh when the “why” is as sharp as the angles. If your story is clear-about site, culture, movement-then the risky bits know where to go and how far to go. The trick isn’t control versus chaos. It’s getting them to talk.